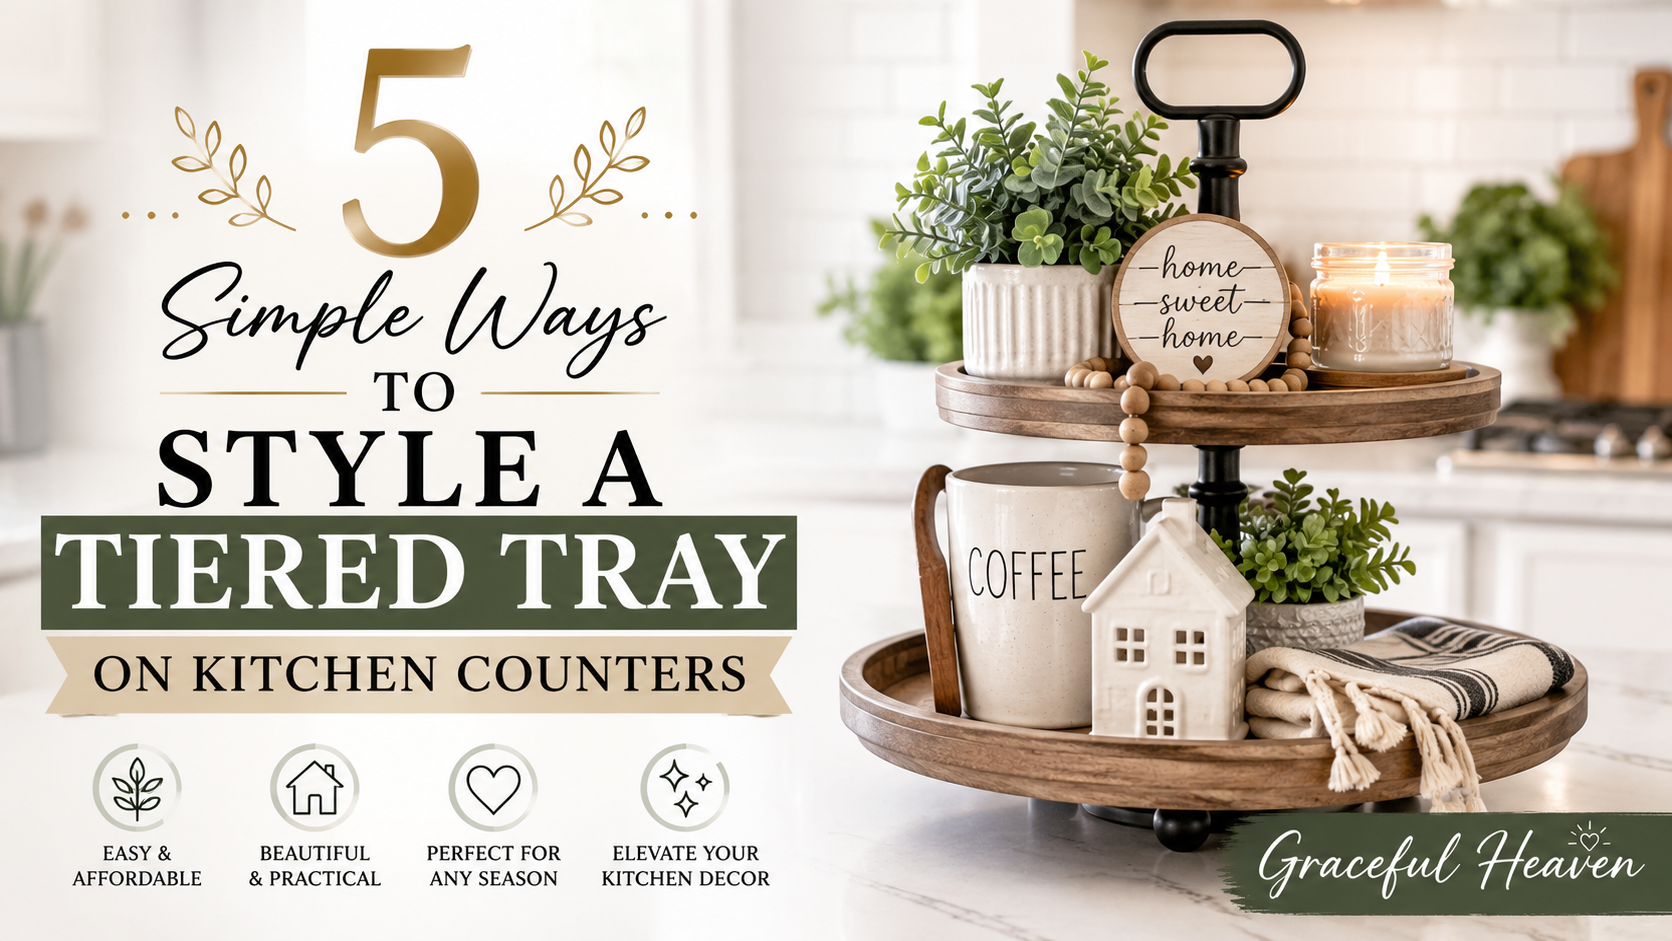
That empty tiered tray sitting in your cart right now? It’s not going to style itself. 😅
You saw one on Pinterest. Maybe it was piled with lemons and eucalyptus, or stacked with tiny jars of honey and a candle that looked like it cost more than your rent. And you thought, “I could do that.” So you bought one. And now it’s sitting on your counter holding… nothing. Or worse, it’s become the place where mail goes to die. 📬
Here’s the thing. A tiered tray is one of the easiest ways to make your kitchen feel intentional instead of cluttered. But most people overthink it, or they underthink it, and end up with something that looks like a garage sale table. There’s a middle ground. And it’s honestly not that hard to find once you know what you’re doing.
Let’s fix that empty tray. 🍋
Why Bother With a Tiered Tray At All?
Quick gut check before we dive in.
Counter space in most kitchens is tight. You’ve got a coffee maker, maybe a toaster, a fruit bowl, some random mail pile that refuses to leave. A tiered tray solves a real problem: it goes vertical instead of horizontal. You get more visual “stuff” without eating up more counter footprint. It’s basically real estate math. 🏠
Think about it like this. If you laid everything from a two-tier tray flat on your counter, it would look chaotic and take up twice the space. Stack it, though, and suddenly it reads as one cohesive little display instead of five random objects fighting for attention.
That’s the magic. One tray, one story.
1. Pick a Theme (Even a Loose One) Before You Touch a Single Item 🎨
This is where most people go wrong. They grab whatever’s nearby — a candle, some fruit, a random succulent — and just pile it on. No theme. No thread connecting anything. And it shows.
You don’t need anything fancy. A theme can be as simple as “citrus morning” or “cozy autumn baking” or even just “warm neutrals.” The point isn’t to overthink it into a mood board. The point is giving yourself a filter so you’re not just grabbing random objects off the shelf.
Say your theme is “farmhouse breakfast.” Suddenly you know what belongs: a small stack of linen napkins, a mini pitcher, some fresh eggs in a bowl, maybe a jar of local honey. You also know what doesn’t belong — that plastic Tupperware lid you can’t find the matching container for. 🙃
Here’s a quick trick I use. Pick one word. Just one. Warm. Fresh. Rustic. Bright. Then ask of every item you’re considering: does this match the word? If yes, it goes on the tray. If you’re hesitating, it probably doesn’t belong.
Seasonal themes work incredibly well too, by the way. Come October, swap lemons for mini pumpkins and cinnamon sticks. Come summer, swap them back for citrus and fresh herbs in little jars. Your tray becomes something that evolves with the year instead of sitting frozen in one static arrangement forever.
And honestly? This is the step that separates a Pinterest-worthy tray from a cluttered mess. Everything else builds on this foundation.
2. Build in Threes and Vary Your Heights 📏
Odd numbers just look better. This isn’t some made-up design rule — it’s genuinely something your eye responds to. Groupings of three feel balanced and natural, while groupings of two or four can feel stiff, like a matched set from a store display.
So on each tier, try to group items in threes. Three little jars. Three small candles. Three pieces of fruit clustered together instead of scattered evenly like a buffet line.
But don’t stop there. Height matters just as much as grouping.
If everything on your tray sits at the exact same height, your eye has nowhere interesting to land. It’s flat. Boring, even. Add height variation and suddenly the whole thing feels dimensional, almost sculptural.
Picture the top tier. Maybe you’ve got a small vase with a few stems of eucalyptus reaching up. Next to it, a squat little bowl of nuts sitting low. Then a candle somewhere in the middle height-wise. Three different heights, one tier, instant visual interest. 🌿
Here’s a practical trick for building height without buying anything new: use what you already own. Flip a small bowl upside down and set a candle on top of it. Prop a book underneath a plant. Nobody will know, and honestly, nobody cares — it just needs to look intentional from the outside.
One more thing on this. Resist the urge to fill every single inch. Negative space is not your enemy. A tray that’s slightly under-filled with breathing room between objects almost always looks more expensive than one crammed edge to edge.
3. Layer Textures, Not Just Colors 🧺
Color gets all the attention in design conversations. But texture is honestly doing half the work, and most people forget about it entirely.
If every single item on your tray is smooth and shiny — glass jars, ceramic bowls, glossy ornaments — it’ll look sterile. Almost like a display case rather than something lived-in and warm.
Mix it up instead. Something woven, like a small rattan basket or coaster. Something matte, like unglazed pottery. Something with a little shine, like a brass candle holder or a glass jar. Something soft, like a folded linen napkin or a tiny knit coaster tucked underneath a bowl.
This is the part interior stylists talk about constantly but rarely explain clearly, so here’s the plain version: your eye craves contrast. Smooth next to rough. Matte next to shiny. Soft next to hard. That contrast is what makes a display feel curated instead of accidental.
Quick example. Say you’ve got a wooden tiered tray already — lots of them come in wood or bamboo. That’s your rustic, textured base layer. Now add something sleek on top, like a small glass bud vase. The contrast between the raw wood tray and the polished glass does a huge amount of visual work without you adding a single extra item.
Little linen pouches, small wicker baskets holding tea bags, a woven trivet folded small enough to tuck under a jar — these are cheap, they’re often things you already own, and they instantly upgrade the whole vibe. 🧶
Don’t skip this step just because it feels minor. It isn’t.
4. Anchor Each Tier With One “Hero” Item 🕯️
Every tier needs a focal point. One item that’s slightly bigger, slightly bolder, or just more visually interesting than everything else around it. Design people call this an anchor. I just call it the thing your eye lands on first.
Without an anchor, everything on the tray competes for attention equally, and your brain doesn’t know where to look first. It ends up feeling busy even when the actual item count is low.
So for your bottom tier — usually the largest — pick something substantial. A statement candle in a nice holder. A small potted plant. A stack of your prettiest cookbooks, spine-out, with something small resting on top.
For the middle tier, go a size down. Maybe a bowl of fruit, or a cute little creamer pitcher.
Top tier, smallest anchor of all. A tiny bud vase, a single dried flower stem, a mini pumpkin in October.
Here’s a scenario to make this concrete. Say you’re setting up a tray for a fall dinner party. Bottom tier: a chunky cinnamon-scented candle as your anchor, with two or three small gourds scattered around it. Middle tier: a small ceramic bowl of mixed nuts as the anchor, with a folded cloth napkin tucked beside it. Top tier: one single stem of dried wheat in a bud vase. Done. Three anchors, three tiers, instant cohesion.
Notice something? Each anchor is a different size, and they all relate to the same “fall dinner” theme without being identical to one another. That’s the whole trick in a nutshell. 🎃
5. Don’t Forget the Practical Layer — Make It Useful, Not Just Pretty 🍯
Real talk for a second. A tiered tray that’s purely decorative and never touched starts collecting dust fast. Within a month it stops feeling special and starts feeling like clutter you’re scared to move.
So build in something functional. Something you’ll actually reach for.
Coffee station tray? Load it with your favorite mug, a small jar of sugar cubes, a mini creamer, maybe a couple of good chocolates for an afternoon treat. You’ll use this tray daily, which means it stays relevant instead of becoming furniture you dust around.
Baking-themed tray? Vanilla extract in a cute bottle, a small dish of sea salt, measuring spoons tied together with twine, maybe a recipe card propped up like art. Suddenly your tray is doing double duty — it looks good, and it’s saving you a cabinet trip every time you bake.
This matters more than people realize. A tray that earns its counter space by being genuinely useful will survive months, even years, of daily kitchen life. A tray that’s 100% decorative fluff often gets shoved into a cabinet the first time you need extra counter room for actual cooking. 🥧
Here’s a small scenario worth thinking through. Imagine two friends both buy the same tiered tray. Friend A fills hers with decorative-only items — fake flowers, a candle she never lights, a ceramic bird figurine. Friend B fills hers with her everyday tea bags, a honey jar she uses constantly, and a small dish for teaspoons. Six months later, whose tray is still on the counter looking good? Friend B’s, every time. Because it earned its keep.
So as you’re building your tray, ask yourself: will I actually touch this item during a normal week? If the honest answer is no for every single item, swap at least one thing out for something functional.
A Few Extra Tips Before You Go Fill That Tray 🛒
A couple more things worth knowing, since we’re already this deep into it.
Don’t overbuy new stuff. Seriously. Walk around your own kitchen first. Small bowls, extra candles, that pretty jar you never use — chances are you already own half of what you need. Shopping your own cabinets first saves money and, weirdly, often looks more authentic than a set bought all at once from one store.
Match the tray material to your kitchen’s vibe. Marble trays feel modern and a little glam. Wood and bamboo feel cozy and farmhouse. Metal trays, especially in brass or matte black, lean more industrial or transitional. Pick a tray that already fits your kitchen instead of fighting against it.
Rotate seasonally, but keep the tray itself constant. You don’t need five trays for five seasons. One good tray, restyled every couple months, works just fine and honestly looks more sophisticated than switching out entire trays.
Watch the scale. If your tray is small, tiny items work great. If it’s a large tray, tiny items will look lost and scattered. Match your object sizes to your tray size, or things start feeling disproportionate.
Snap a photo when you’re happy with it. This sounds silly, but it’s genuinely useful. Next time you restyle for a new season, you’ll have a reference of what worked so you’re not starting completely from scratch every time. 📸
Putting It All Together
Let’s walk through one full example, start to finish, so this doesn’t stay abstract.
Say it’s early spring and you want your tray to feel fresh. Your theme (step one) is “citrus and green.” Bottom tier anchor: a small bowl of lemons, three or four of them, clustered together, not spread evenly. Beside them, a woven trivet for texture contrast. Middle tier anchor: a small glass jar of honey, with a mini spoon resting across the top, plus a folded green linen napkin tucked to one side for texture and color. Top tier anchor: a tiny bud vase with a single sprig of fresh mint or rosemary from your garden or windowsill.
Heights vary naturally because of the tier structure itself, but you’ve also added variation within each tier — the trivet lies flat while the lemons stack up in a little pyramid. Textures range from woven to glass to smooth ceramic to soft linen. And it’s functional too — you’ll genuinely use that honey and those lemons within the week, so the tray earns its spot.
That’s five steps, one tray, maybe fifteen minutes of actual effort. 🍃
One Last Thought
Your tiered tray doesn’t need to look like a magazine spread. It just needs to look like you put a little thought into it. That’s really the whole secret — intention over perfection.
Go raid your cabinets, grab three or four things that already match a loose theme, and give it a shot this weekend. You can always tweak it later. Trays are forgiving like that. 🌸